Why Music Video Lighting Setups Differ for Filmmakers
August 2, 2026
Learn how professional music video lighting setups are designed around story, genre, movement, and mood. Discover when to use natural or artificial light, how different lighting styles shape pop, hip-hop, EDM, indie, and acoustic videos, and explore practical workflows, budget strategies, and cinematic techniques that transform music videos into visually compelling productions
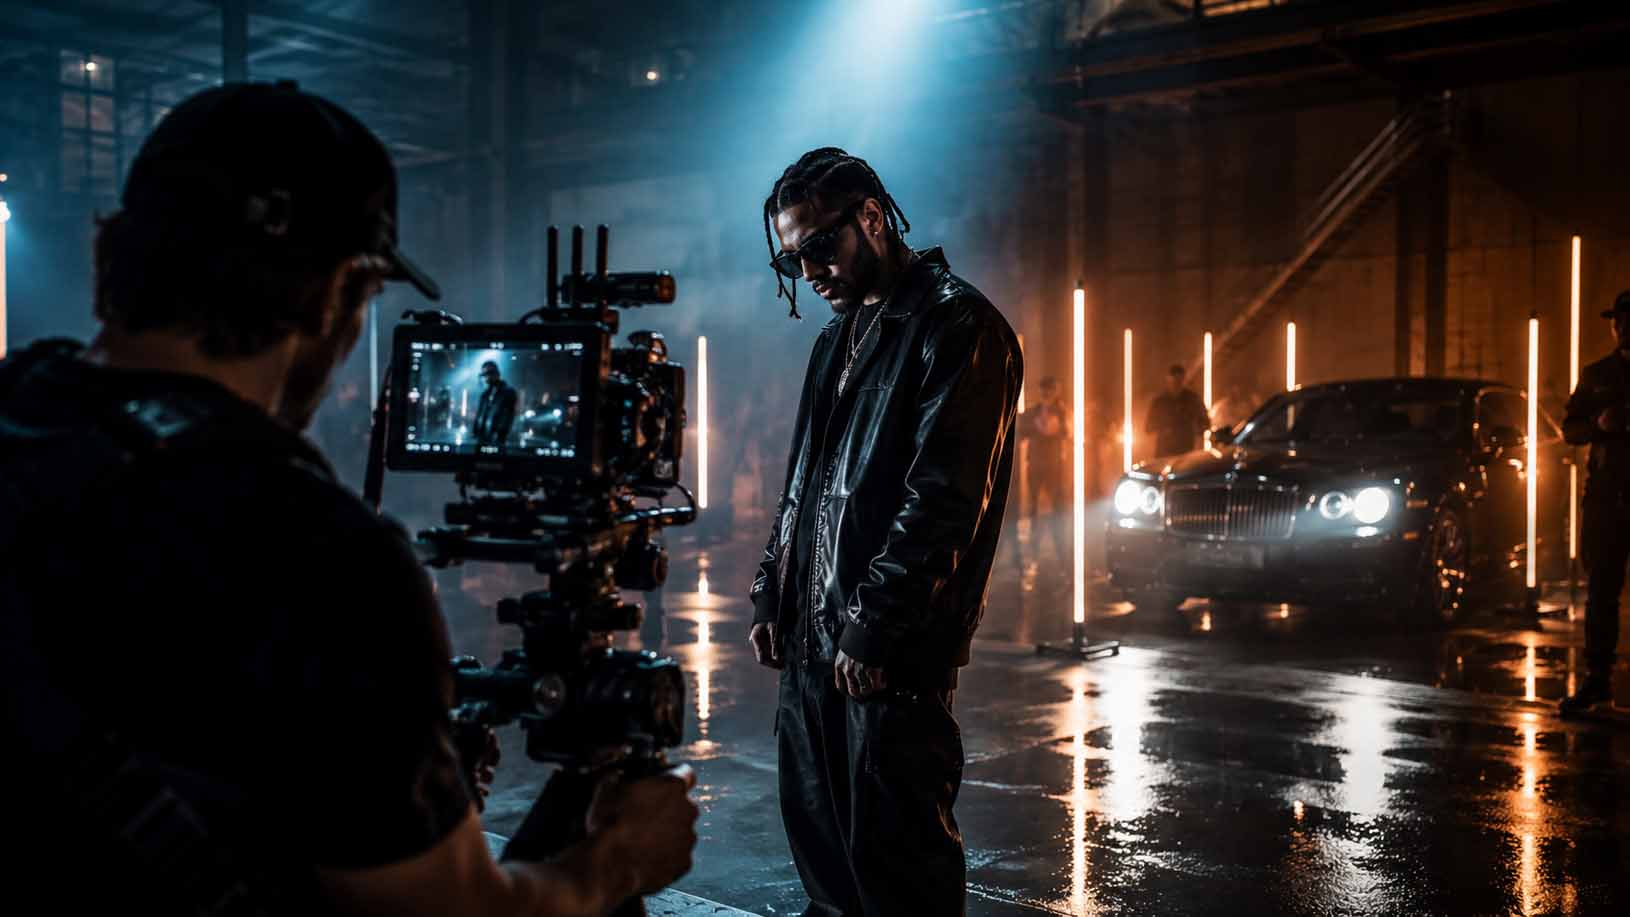
Music video lighting setups differ primarily because every song tells a different story, and the lighting has to serve that story first. Genre conventions, emotional arc, talent movement, and practical constraints like location and budget all pull the setup in different directions. A pop track shot on a white cyclorama needs even, high-key color washes that flatter choreography. A moody R&B ballad calls for a single warm practical and deep shadows. The American Society of Cinematographers notes that configurations range from single-point setups for intimate, moody looks all the way to complex moving-light rigs synced to rhythm. Color temperature alone spans 2700K to 6500K depending on the palette. At Imagestudio, those decisions start with the song itself, not the gear list.
Table of Contents
What drives the differences in music video lighting setups?
Natural light, artificial light, or both — which approach fits your shoot?
How does lighting change across genres and moods?
How do you plan and run a lighting-heavy music video shoot?
How do budgets and timelines shape your lighting options?
How can lighting create production value on a tight budget?
How Imagestudio approaches lighting decisions on music video shoots
Key Takeaways
The real reason lighting is a storytelling decision
What Imagestudio can do for your next music video
Further reading and technical references
What drives the differences in music video lighting setups?
Every lighting choice traces back to one of three categories: artistic intent, technical requirements, or logistical reality. Here is how each one shapes the setup.
Artistic narrative and mood. A track built around vulnerability calls for soft, low-contrast light. An aggressive hip-hop banger wants hard shadows and high contrast.
Genre conventions. Pop leans high-key and colorful; electronic leans strobes and haze; indie/rock leans gritty practicals and available light.
Song structure and beats. Cinematographers time lighting changes to breakdowns and choruses, shifting intensity or color when the music shifts.
Talent movement and choreography. Heavy choreography demands even coverage or precisely timed moving lights so the talent never steps out of the light.
Camera movement and lenses. A wide dolly move needs broader coverage; a tight 85mm close-up can get away with a single beauty dish.
Color palette and grading plan. If the grade is warm and desaturated, you light warm on set. Fighting the grade in post costs time and quality.
Location and ambient light. A warehouse with north-facing skylights gives you soft, consistent daylight. A basement gives you nothing and total control.
Budget and crew size. A two-person crew can rig a three-light setup in an hour. A full gaffer and grip team can build a moving-light rig in a morning.
Power and safety constraints. Outdoor locations limit amperage; indoor stages give you the full draw you need for large fixtures.
Pro Tip:Identify the single most important factor on your project before you touch a fixture. Usually it is the song’s primary narrative beat or the talent’s movement range. Every other choice should support that one decision.
Natural light, artificial light, or both — which approach fits your shoot?
Neither approach wins outright. They solve different problems, and the best teams know when to use each.
Factor
Natural light
Artificial light
Cost
Free
Rental or purchase required
Consistency
Changes with time and weather
Fully repeatable
Color temperature
Varies (2700K–6500K, warmer at golden hour)
Controllable (2700K–6500K with LEDs)
Mood quality
Organic gradients, soft transitions
Precise, shapeable, directable
Time dependence
Golden hour lasts under an hour
Available any time
Setup speed
Fast (use what is there)
Slower (rig, focus, test)
Window orientation matters more than most filmmakers realize. North-facing windows give you consistent, even light all day. South-facing windows bring direct sun and rapidly changing conditions. East and west windows give you a usable window of one to two hours before the light angle shifts dramatically.
The hybrid approach is often the smartest call: use a large window as soft ambient fill, then add an LED panel or strobe for rim light, separation, or a beat-synced effect. The critical rule is to commit fully. Mixing uncontrolled ambient sources with calibrated fixtures produces color casts that are genuinely hard to fix in post. Professionals either embrace ambient light completely or block it out with blackout curtains and flags.
Pro Tip:During your tech scout, photograph the location at the exact time of day you plan to shoot. That single step tells you whether the ambient light is an asset or a problem before you commit to a setup.
How does lighting change across genres and moods?
Genre gives you a starting point. Here is how common approaches map to looks, with compact kit suggestions.
Genre / Mood
Core look
Suggested kit
Pop / upbeat R&B
High-key, colorful, flattering
LED panels, RGB fixtures, softboxes, color gels, cyc wall
Hip-hop / trap
High contrast, hard shadows, dramatic
Fresnel or HMI key, minimal fill, practical fixtures, haze
Electronic / EDM
Strobes, beams, motion, haze-heavy
Strobes, LED bars, haze machine, moving-gobo projector
Indie / rock
Gritty, warm, available-light feel
Tungsten practicals, single LED key, minimal diffusion
Ballad / acoustic
Soft, intimate, single-source warmth
Large softbox or window, warm gel, one practical
For electronic tracks, a moving-gobo projector like the Rosco X-Effects can create rotating flares and motion effects without a full moving-light rig. That is a low-footprint way to add kinetic energy to a static set.
Choreography changes placement significantly. When talent moves across a wide stage, a single key light creates hot spots and dead zones. The fix is either a broad, even wash from a large source above, or multiple fixtures spaced to maintain consistent exposure across the full movement range. Camera motion adds another layer: a dolly or gimbal move that sweeps past a practical light needs that practical flagged or the exposure will blow out mid-move.
For a deeper look at how camera and creative decisions interact with lighting, the cinematic music video guide at Imagestudio covers the full picture.
How do you plan and run a lighting-heavy music video shoot?
A repeatable workflow keeps the creative vision intact from treatment to wrap.
Treatment breakdown. Mark every lighting beat in the song: where does the chorus hit, where does the breakdown land, where does the bridge shift emotionally? Those moments need a lighting change planned in advance.
Tech scout. Visit the location at shoot time. Photograph ambient light, map power sources, identify rigging points, and flag any color contamination from windows or practicals.
Prelight day. Rig and focus all fixtures before the talent arrives. Test color temperatures, check for flicker at your camera’s frame rate, and photograph key frames for continuity reference.
Camera and lighting rehearsal. Run the song with the talent moving through the full choreography. Adjust coverage gaps, flag hot spots, and confirm beat-synced effects land on the right frame.
Playback sync. Lock your audio sync workflow before the first take. Beat-synced lighting effects are useless if the playback drifts.
Shoot. Maintain a continuity log for every setup: fixture positions, gel codes, dimmer levels, and color temperature settings.
Wrap. Strike in reverse rigging order. Document final settings photographically for any reshoots.
Pro Tip:Schedule your prelight as a separate half-day. Trying to rig and shoot on the same call time is the single fastest way to lose creative control of your lighting.
How do budgets and timelines shape your lighting options?
| Budget tiers influence typical approaches and setup time, ranging from DIY setups using LED panels and gels with natural light hybrids, mid-range rentals featuring studio lighting and supplemental kits with a gaffer, and high-end productions deploying full moving-light rigs with dedicated teams and extended prelight periods. |
The most common budgeting mistake is spending on fixtures while skimping on modifiers. A $200 LED panel with a good softbox and a set of gels will outperform a $1,000 fixture with no shaping. Rent large fixtures for the look; buy modifiers and gels to own. For a detailed breakdown of where production money actually goes, the music video production costs breakdown is worth reading before you finalize a budget.
Hiring a lighting tech or gaffer pays for itself on any shoot with more than four fixtures. Setup time drops, safety improves, and you stay focused on the creative decisions.
How can lighting create production value on a tight budget?
Lighting is the most cost-effective production value available. Here is how to use it well when the budget is lean.
Haze makes beams visible. A $150 haze machine turns a single hard light into a cinematic beam. Without haze, the beam does not exist on camera.
Practicals as set dressing. Neon signs, string lights, and desk lamps cost almost nothing and read as intentional art direction on screen.
Strong backlight for separation. A single hard light behind the talent lifts them off the background and reads as expensive. It is the highest-value light on a low-budget set.
Colored gels for mood. A $10 gel sheet on a cheap LED completely changes the emotional register of a shot.
Translucent materials for texture. Shooting through prisms, plastic sheets, or translucent fabric in front of the lens or a fixture creates flares and diffusion effects that look like post work but cost almost nothing.
For more on these kinds of visual effects techniques, Imagestudio’s creator guide goes deeper on affordable approaches.
Pro Tip:Control the background and edge light first. A messy or color-contaminated background is much harder to fix in post than a slightly underexposed face. Prioritize the frame’s edges before you shape the key.
How Imagestudio approaches lighting decisions on music video shoots
The checklist Imagestudio uses on every music video production:
Identify the primary narrative beat of the song (the emotional peak the video builds toward).
Choose the dominant light source: natural, controlled, or hybrid.
Lock the color palette before the shoot and stick to it across every setup.
Plan specific lighting hits for musical breakdowns and choruses.
Prelight key frames before the talent arrives.
One example from a recent electronic track: the brief called for a sense of controlled chaos during the drop. The solution was a colored cyclorama wash in deep blue, with a strobe rig timed to the kick drum and a haze layer that made every beam visible. The result read as a large-scale production on a mid-range budget because the lighting did the work the set design could not.
Imagestudio brings 14+ years of experience, 250+ completed projects, and work that has accumulated over 150 million views across platforms. That depth of production experience shapes every lighting decision the team makes.
Key Takeaways
Genre, narrative, and song structure are the primary reasons music video lighting setups differ, and every technical and budgetary decision should serve those creative drivers first.
Point
Details
Song narrative drives setup
Identify the emotional peak of the track before choosing a single fixture.
Color temperature control
LEDs and strobes span 2700K–6500K; commit to one range and block ambient sources that conflict.
Budget shapes approach
DIY setups work at $500–$2,000; mid-range rentals unlock studio rigs at $2,000–$8,000.
Haze and backlight punch above their cost
These two elements deliver the highest production-value return on a limited budget.
Imagestudio’s process
Starts with a narrative beat breakdown, locks a color palette, and prelights key frames before talent arrives.
The real reason lighting is a storytelling decision
There is a tendency in production circles to treat lighting as a technical problem with a technical solution. Pick the right fixture, hit the right color temperature, and you are done. That framing misses the point entirely.
Lighting is a narrative decision. The color of a scene tells the audience how to feel before a single word is sung. The contrast ratio tells them whether the world is safe or threatening. The moment a strobe fires on a beat, the music and the image become one thing. Those choices are not about gear specs. They are about understanding what the song is trying to say and finding the visual language that says it louder.
The filmmakers who make the most memorable music videos are not the ones with the biggest rigs. They are the ones who read the song deeply enough to know exactly when to hold a steady, warm light and when to let everything go dark.
What Imagestudio can do for your next music video
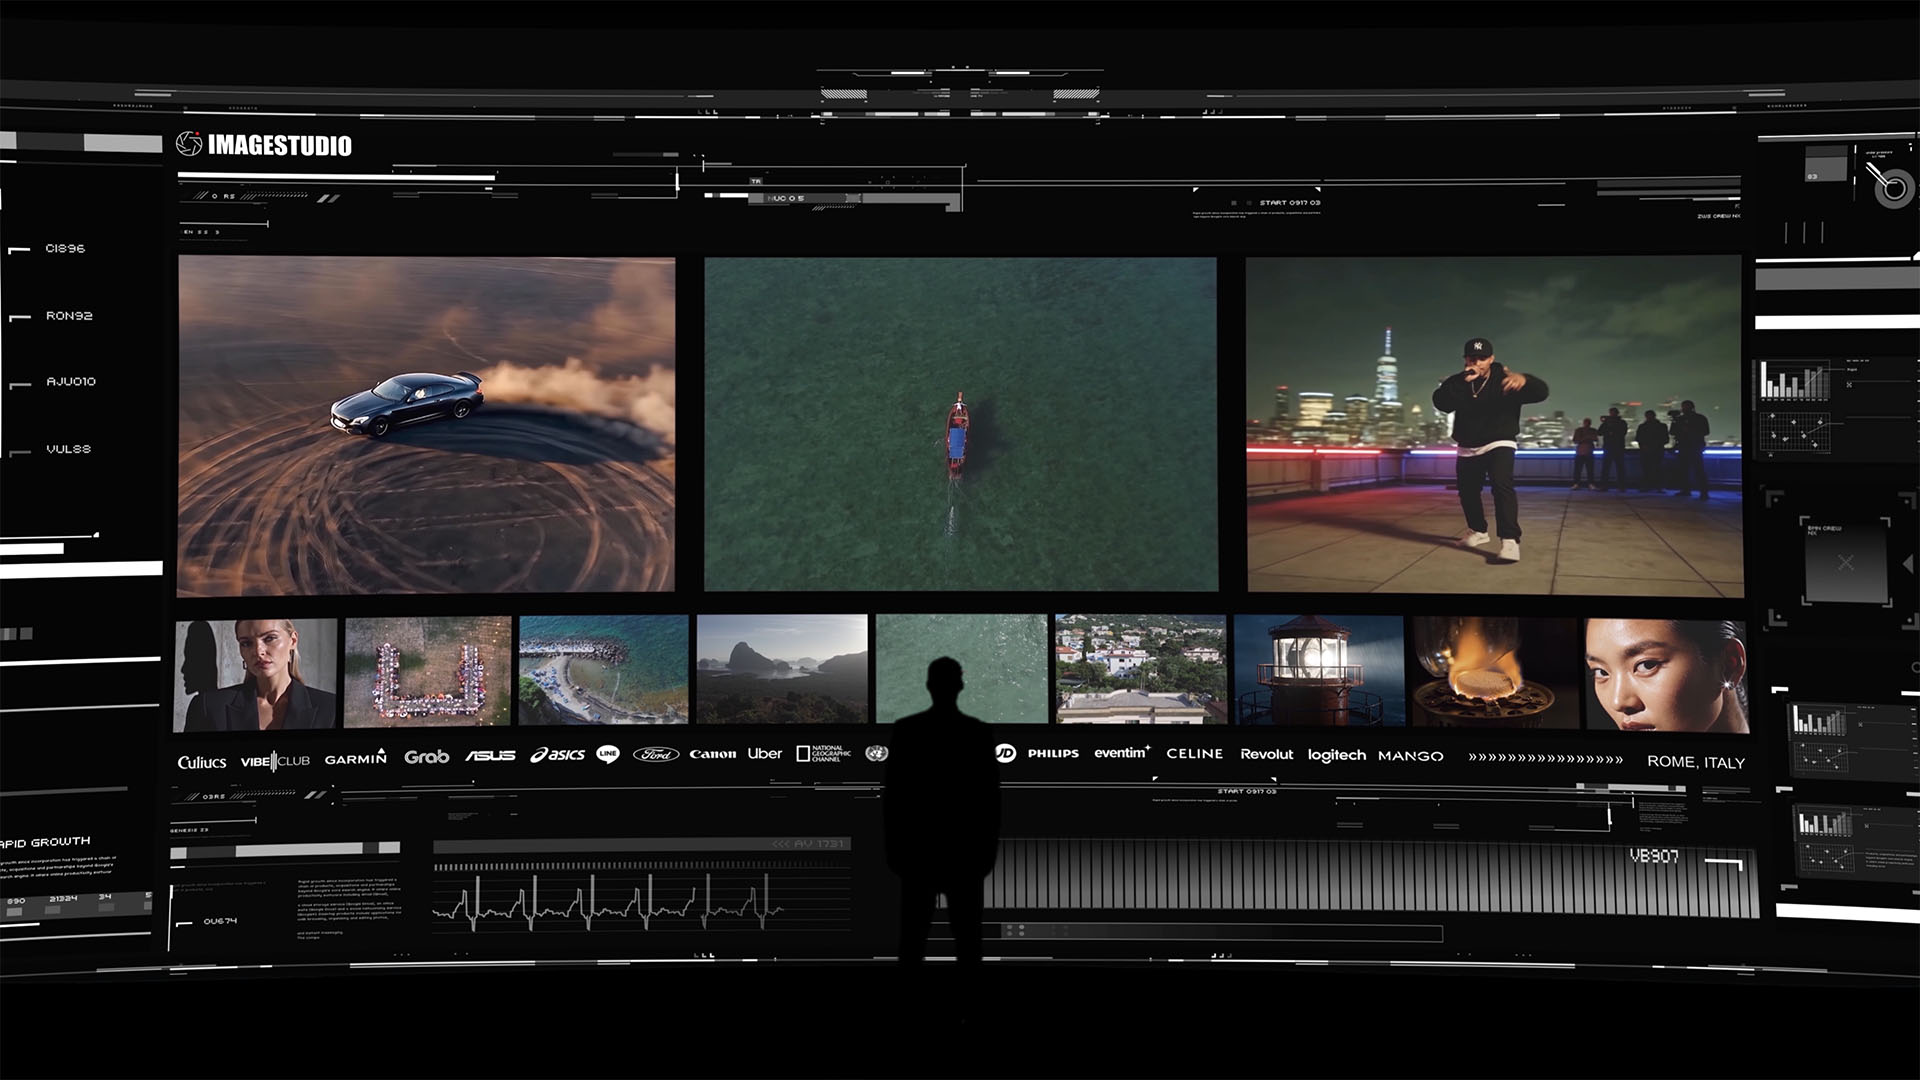
A high-end cinematic portfolio experience by Image Studio featuring automotive visuals, aerial cinematography, urban storytelling, and premium brand collaborations.
Imagestudio’s film production team handles music video production end to end, from treatment and tech scout through prelight, shoot, and post. With 14+ years of experience across 250+ projects and a track record that includes work for National Geographic and award recognition from major film festivals, the studio brings the kind of lighting craft this guide describes to every production. Whether you are working with a mid-range budget or a full commercial build, the team can scope a lighting approach that fits the song, the timeline, and the deliverable. Reach out for a production quote and let the conversation start with the music.
Further reading and technical references
American Society of Cinematographers — Cinematography for Music Videos. The primary industry reference for understanding how narrative, genre, and beat structure drive lighting decisions. Goes deeper on moving lights and color theory than most tutorials.
Rosco X-Effects Projector tutorials. Practical demonstrations of how a single moving-gobo fixture creates motion and texture effects. Useful for anyone building an electronic or EDM look without a full rig.
SLR Lounge — Natural Light vs. Flash. A clear decision framework for choosing between ambient and controlled light on location. Especially useful for hybrid approaches on low-budget shoots.
Circular Studios — Natural Light vs. Strobes. Covers window orientation and how studio design affects usable light quality throughout the day. Worth reading before any tech scout.
Music video production workflow at Imagestudio. Operational detail on scheduling, crew roles, and preproduction steps that complement the lighting workflow described in this guide.
BPM and rhythm resources at Repbeats. Useful for understanding song structure and beat mapping when planning timed lighting changes synced to musical breakdowns.