Learn how the role of lighting in commercial photography shapes brand perception, visual storytelling, product appeal, and image quality through intentional control of light direction, intensity, and quality.
Lighting in commercial photography is defined as the deliberate control of light’s direction, intensity, and quality to shape texture, mood, and visual narrative in every image. The role of lighting in commercial photography goes far beyond simple illumination. It determines whether a product looks luxurious or ordinary, whether a space feels inviting or cold, and whether a brand image connects emotionally with its audience. Photographers, marketers, and visual creators who master light control produce images that do more than show a product. They tell a story that moves people.
What are the key physical properties of light in commercial photography?
Light has three core properties that every commercial photographer must control: intensity, quality, and direction. Each one shapes the final image in a distinct way.
Intensity refers to how bright or dim the light source is. High intensity creates bold, high-contrast images. Low intensity produces moodier, more subdued results. Exposure is a direct function of intensity, so getting it right is the first step toward a technically sound image.
Quality describes whether light is soft or hard. Light quality is determined by the size of the light source relative to the subject. A large source close to the subject produces soft, diffused light with gradual shadow transitions. A small or distant source produces hard light with sharp, defined shadows. Soft light flatters skin and smooths surfaces. Hard light reveals texture and adds drama.
Direction controls where shadows fall and how three-dimensional the subject appears. Front lighting flattens form. Side lighting sculpts it. Backlighting creates separation and depth.
Property
Soft Light
Hard Light
Source size
Large relative to subject
Small relative to subject
Shadow edges
Gradual, diffused
Sharp, defined
Best for
Skin, smooth products
Textured surfaces, drama
Common sources
Softboxes, overcast sky
Bare bulbs, direct sun
Mood
Gentle, approachable
Bold, high contrast
Understanding these three properties gives you a framework for every lighting decision on a commercial shoot. You stop guessing and start making deliberate choices that serve the image’s purpose.
How does lighting influence visual storytelling and brand perception?
Lighting is primarily a storytelling device in commercial imagery. It guides visual hierarchy and evokes brand emotion before a viewer reads a single word of copy.
Controlled highlights and shadows guide the viewer’s eye and build subconscious brand desire. A luxury watch photographed with a single hard light source and deep shadows communicates exclusivity. The same watch lit with flat, even light looks like a catalog item. The product is identical. The story is completely different.
Lighting also reinforces brand personality through color temperature. Warm tones suggest comfort, warmth, and approachability. Cool tones signal precision, cleanliness, and modernity. Brands that understand this use color temperature as a consistent visual signature across all their imagery.
Here is what lighting achieves in commercial storytelling:
Highlights draw attention to the most important part of the frame, whether that is a product logo, a texture, or a face.
Shadows add depth and suggest premium quality by creating dimension that flat lighting cannot.
Contrast sets the emotional register of the image, from soft and romantic to bold and authoritative.
Color temperature aligns the image with the brand’s personality and target feeling.
“Lighting is not just about seeing the subject. It is about making the viewer feel something about it. The best commercial images use light the way a director uses music: to set the emotional tone before the conscious mind catches up.”
This is why visual storytelling through light is one of the most studied areas in brand photography. The emotional response happens fast, and lighting is the trigger.
What are the most effective lighting setups for commercial shoots?
The best lighting setups for photography depend on the subject, but several arrangements appear consistently across professional commercial work.
Three-point lighting for portraits and products
Three-point lighting uses a key light, a fill light, and a backlight. The key light is the primary source and sets the mood. The fill light softens shadows created by the key. The backlight separates the subject from the background and adds dimension. This setup works for commercial headshots, beauty photography, and packaged goods.
Layering light in large commercial spaces
Large spaces require a different approach. Layering multiple strobes to create a consistent ambient base before adding key shaping lights yields even illumination and visual depth. You build the room’s light first, then sculpt the hero areas. This prevents the patchy, uneven look that plagues interior commercial photography when photographers rely on a single source.
Lighting reflective surfaces
Reflective products like jewelry, glassware, and polished metals demand a specialized approach. Negative fill and careful light positioning outside the family of reflection angles prevent hotspots and sculpts the product’s form. Negative fill means placing black cards or dark surfaces near the product to absorb light and deepen shadows, creating definition without glare.
Set your key light at a steep angle above the product.
Place a black card opposite the key to create a dark reflection on the product’s surface.
Add a small accent light from behind to create a rim of separation.
Check for hotspots by shooting tethered and reviewing at 100% zoom.
Adjust light position in small increments until the reflection shows form, not glare.
Pro Tip:Shoot tethered to a calibrated monitor when lighting reflective products. What looks clean on a camera LCD often reveals hotspots and color casts on a larger, color-accurate screen.
Softboxes, LED panels, and strobes each serve different purposes. Softboxes produce soft, directional light ideal for portraits and packaged goods. LED panels offer continuous light that lets you see exactly what the camera sees before you shoot. Strobes deliver high-intensity bursts that freeze motion and overpower ambient light in bright environments.
How can photographers assess and manipulate ambient lighting on commercial shoots?
Seasoned photographers pause and analyze existing light before adding a single piece of equipment. Ambient light direction, intensity, and color temperature all determine what supplemental lighting is needed and where to place it.
Assessing ambient light well means asking specific questions before you set up:
Where is the primary light source, and what direction does it cast shadows?
What is the color temperature? Daylight runs around 5,600K. Tungsten sits near 3,200K. Mixed sources create color casts that are difficult to correct in post.
Is the intensity even across the scene, or are there hot zones and dark corners?
Does the ambient light support the mood you want, or does it work against it?
Once you have those answers, you choose your tools. Diffusers soften harsh window light. Reflectors bounce existing light into shadow areas without adding a new source. Flags block unwanted spill from overhead fixtures. Each tool modifies what is already there rather than replacing it entirely.
Continuous LED panels are particularly useful for ambient light work because they show you the result in real time. You see the light fall on the subject as you move the panel, which speeds up the process and reduces guesswork. Strobes require more experience to predict, but they offer far more power when you need to overpower strong ambient sources.
Pro Tip:Carry a small color meter on commercial shoots. It reads the exact color temperature and tint of any light source, which lets you dial in your white balance and gel your strobes to match the ambient light precisely.
The production planning stage is the right time to scout ambient light conditions. Visiting a location at the same time of day as the shoot reveals how natural light behaves in that space and what supplemental gear you will actually need.
Lighting mastery is about physics, not price tags
I have been on sets where photographers showed up with $10,000 worth of gear and still produced flat, lifeless images. I have also watched a single well-placed $500 light outperform expensive camera bodies when the photographer understood how light physically interacts with surfaces.
The biggest mistake I see is treating lighting as an afterthought. Photographers spend weeks choosing a camera body and minutes planning their light. That ratio should be reversed. Light is the image. The camera just records it.
The second most common mistake is chasing complexity. Beginners often add more lights when the image is not working. The real fix is usually moving one light, changing its angle, or adding a single flag to control spill. Simplicity with intention beats complexity without understanding every time.
Patience is the skill that separates good lighting from great lighting. Reading light is a lifelong discipline. The photographers who produce consistently excellent commercial work are the ones who slow down, observe how light falls in a space, and make deliberate adjustments rather than reactive ones. Experiment with mixed lighting. Combine a warm practical source with a cool strobe. See what happens when you push color temperature contrast. The results often surprise you, and those surprises become your signature.
— Image Studio
How Imagestudio brings lighting expertise to commercial production
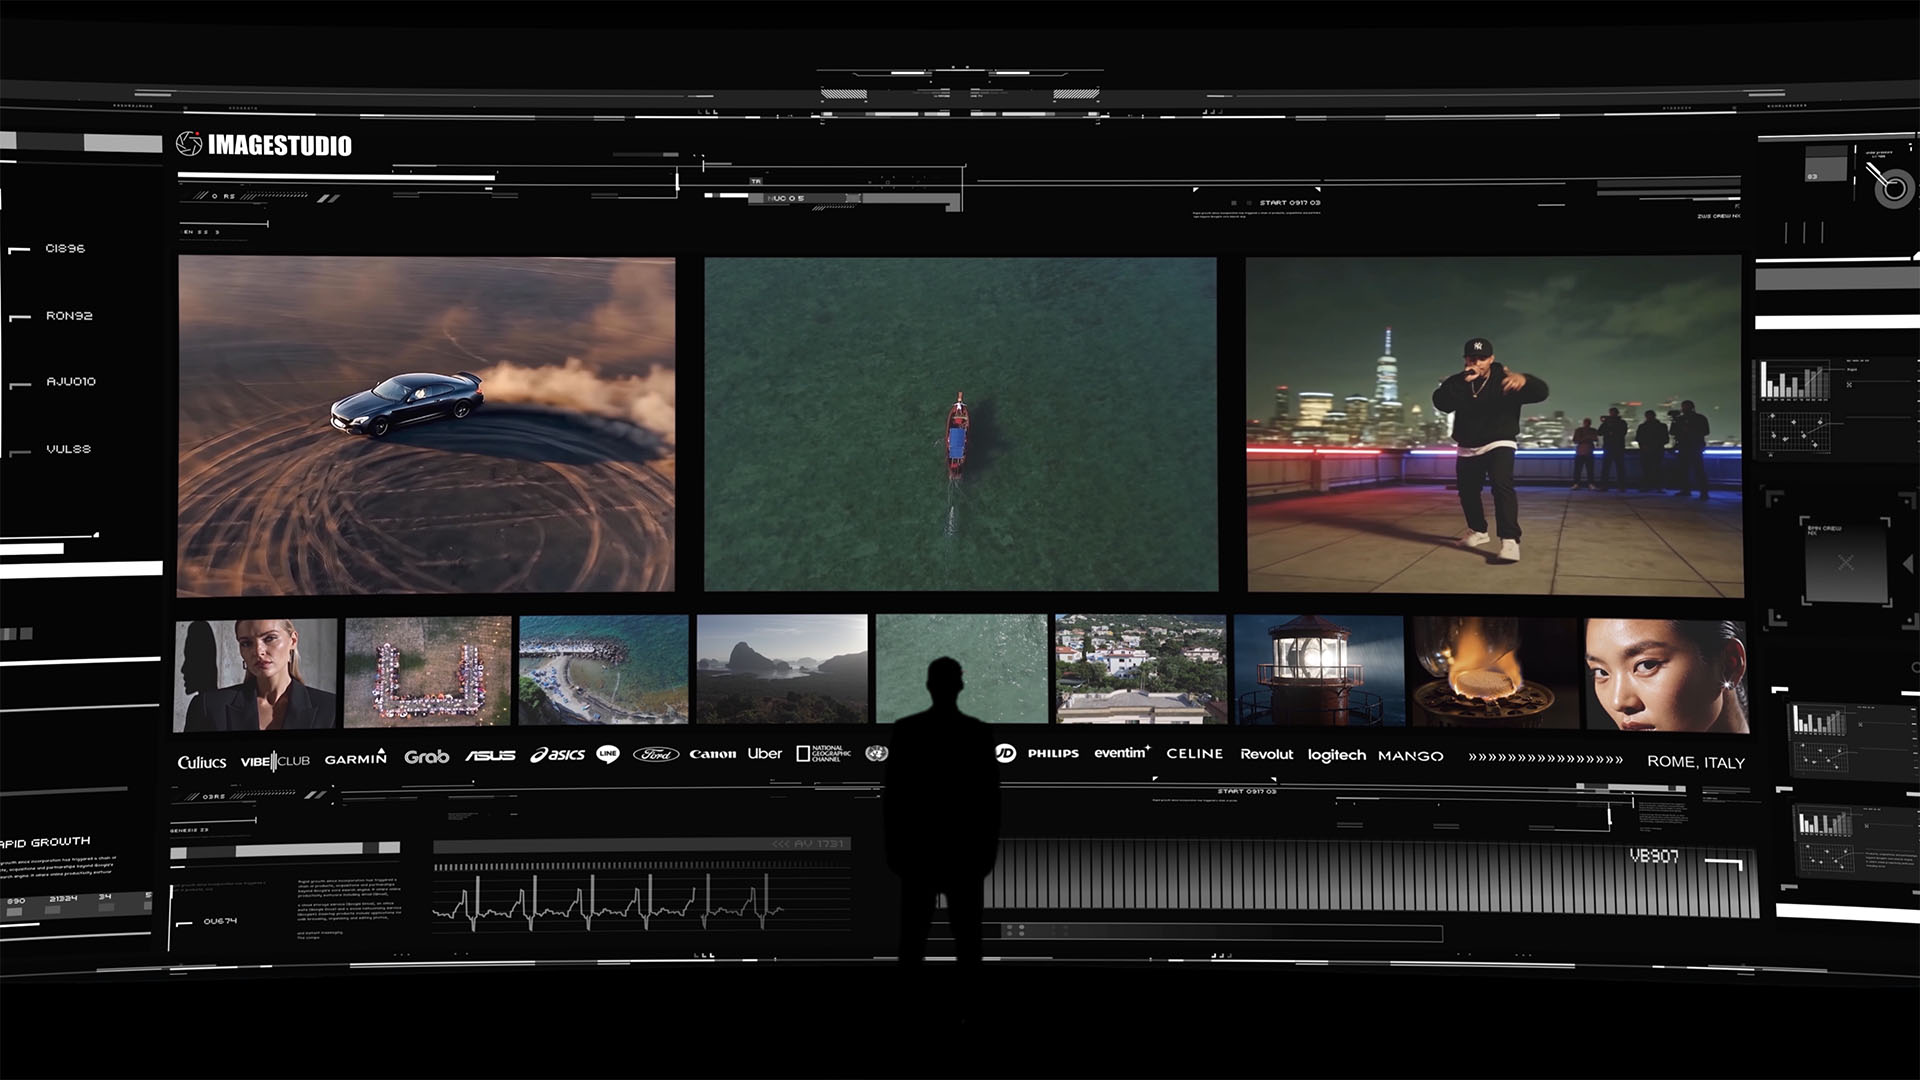
Imagestudio has spent over 14 years building productions where lighting is never an afterthought. With more than 250 projects and over 150 million views, the team knows how controlled light shapes the difference between imagery that informs and imagery that sells.
A high-end cinematic portfolio experience by Image Studio featuring automotive visuals, aerial cinematography, urban storytelling, and premium brand collaborations.
Whether you are producing a brand film or a full product photography campaign, Imagestudio’s production team brings deep knowledge of lighting physics, equipment selection, and on-set execution. The studio has collaborated with clients like National Geographic and earned recognition at prestigious film festivals, with lighting craft at the center of every project. If your brand needs commercial visuals that connect emotionally and perform commercially, Imagestudio’s production services are built for exactly that.
Key takeaways
Lighting is the single most powerful variable in commercial photography because it controls texture, mood, and emotional response before any other creative element takes effect.
Point
Details
Light quality drives results
Soft light flatters; hard light sculpts. Choose based on the subject and the story you want to tell.
Direction shapes dimension
Side and back lighting create depth; front lighting flattens form and reduces visual interest.
Storytelling through contrast
Highlights and shadows guide the viewer’s eye and signal brand personality before copy does.
Assess ambient light first
Read direction, intensity, and color temperature before adding any supplemental lighting equipment.
Mastery beats gear
Understanding light physics produces better commercial images than expensive equipment used without intention.
FAQ
What is the role of lighting in commercial photography?
Lighting in commercial photography controls texture, mood, and visual narrative by shaping how a subject appears to the viewer. It determines brand perception, emotional response, and image quality more than any other single variable.
What is the difference between hard and soft light in commercial shoots?
Soft light comes from large sources relative to the subject and produces gradual shadow transitions, making it ideal for skin and smooth products. Hard light comes from small or distant sources and creates sharp shadows that emphasize texture and drama.
How does lighting affect photo quality in a commercial context?
Lighting affects exposure, color accuracy, shadow detail, and the three-dimensional appearance of the subject. Poor lighting produces flat, unengaging images regardless of camera quality.
What lighting setup works best for reflective products?
Placing lights outside the family of reflection angles and using negative fill cards creates clean, defined reflections without hotspots. This technique works for jewelry, glassware, and polished metal surfaces.
How should photographers handle mixed ambient and artificial light?
Assess the ambient light’s color temperature first, then gel your strobes or LED panels to match it. A color meter gives you an exact reading and removes the guesswork from white balance decisions.