
Learn how to create an anamorphic music video using cinematic lenses, widescreen framing, horizontal flares, oval bokeh, lighting, camera setup, desqueeze workflows, color grading, VFX, and vertical anamorphic techniques.
← Back to Editorial
← Back to Editorial
Imagestudio’s Anamorphic Music Videos for Vertiscope and Widescreen
August 30, 2026
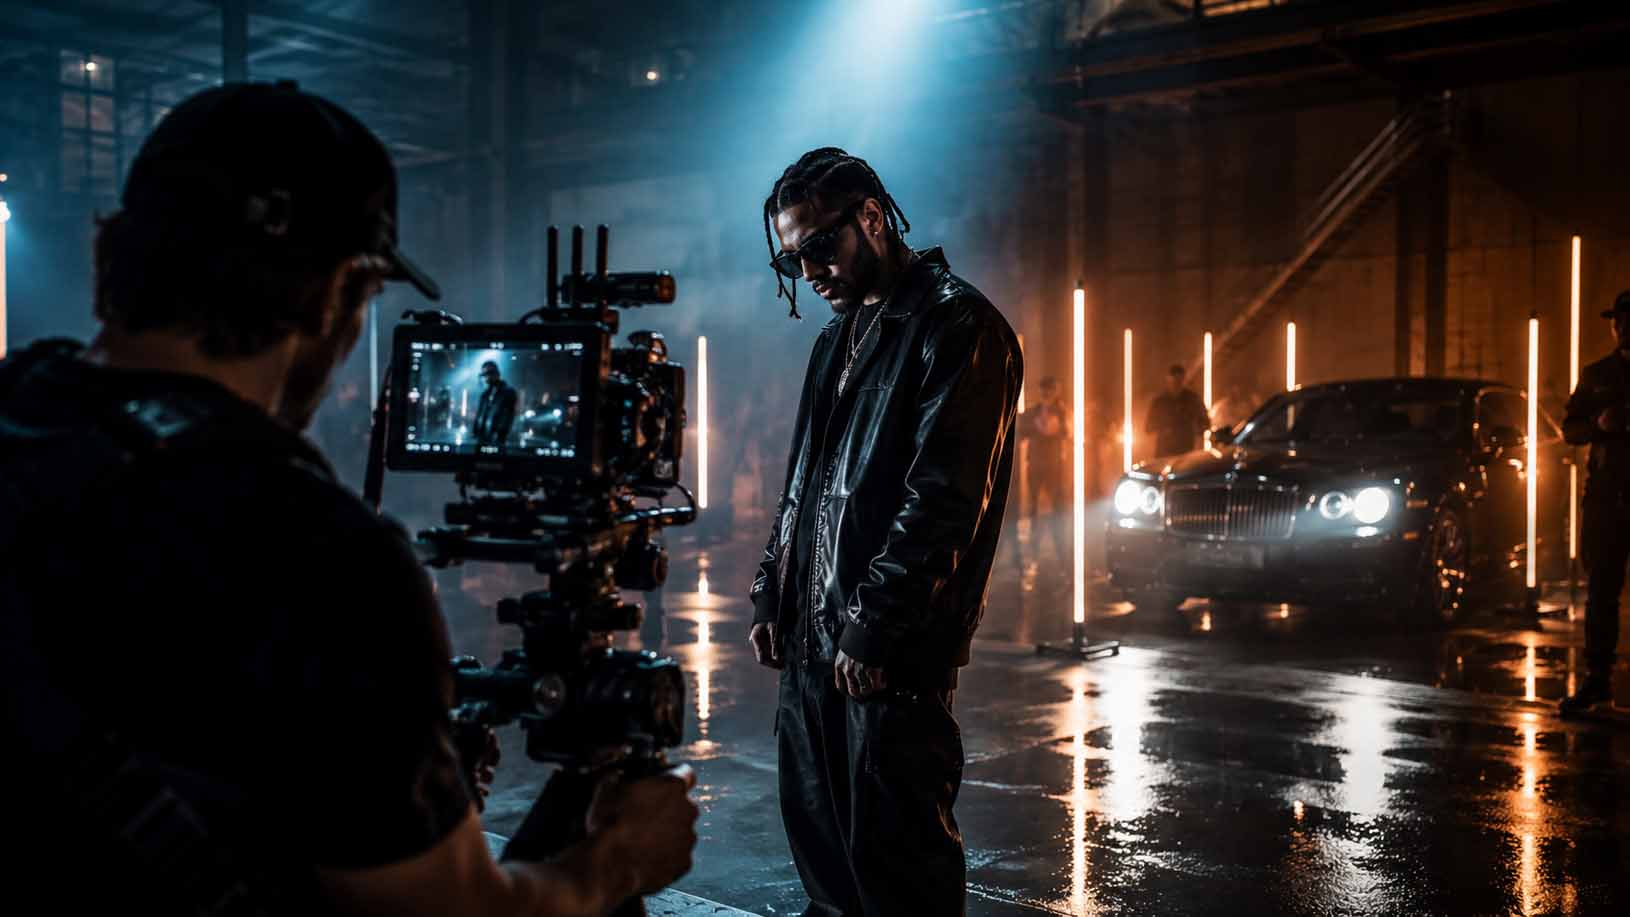
Anamorphic is the right call for a music video when the song needs a widescreen stage, horizontal flares, and oval bokeh that spherical lenses cannot replicate. Reach for real anamorphic glass when authenticity and budget allow it, switch to vertical anamorphic (vertiscope) when the deliverable is a vertical feed, and lean on emulation plugins when neither is available. The sections below walk through gear, on-set workflow, and the post pipeline Imagestudio uses across its music-video and commercial work.
TL;DR:
- Anamorphic lenses create a cinematic 2.39:1 widescreen look with horizontal flares and oval bokeh that enhance stage space, lighting, and depth in music videos.
- Using vintage glass offers more character but is costly and less focus-friendly, while modern primes and adapters provide cleaner images at lower costs, with vertical anamorphic suited for vertical deliveries.
- Proper camera setup, including high resolution recording, accurate desqueeze monitoring, and precise focus marks, is crucial for maintaining anamorphic quality in post-production.
- Flare placement depends on practical lighting, with narrow sources producing sharper streaks, and careful control of background distance influences oval bokeh clarity.
- A disciplined workflow including pre-shoot tests, shot-level planning, and dedicated correction tools ensures authentic anamorphic visuals during editing and VFX integration.
Table of Contents
- What does anamorphic mean for a music video?
- Why choose anamorphic for a music video?
- Choosing anamorphic glass, adapters, or emulation for your shoot
- How do you set up cameras and monitors for an anamorphic shoot?
- Lighting and flares: getting the anamorphic look to actually show up
- Desqueeze, grading, and the post pipeline for anamorphic footage
- Bringing VFX and AI into an anamorphic pipeline without breaking the look
- A practical checklist and sample shot list for your shoot day
- Applying anamorphic technique on a professional set
- Bring your anamorphic vision to Imagestudio
What does anamorphic mean for a music video?
Anamorphic glass squeezes a wider field of view onto a standard sensor, then a desqueeze in camera or post stretches it back out. What survives that process is a visual signature spherical lenses simply do not produce, and it happens to suit music-video staging unusually well.
Four traits define the look:
- A 2.39:1 widescreen frame that reads as cinematic the instant it hits a monitor.
- Horizontal streak flares off practicals and stage lighting, running left to right instead of starring in points.
- Oval bokeh in out-of-focus backgrounds, a direct result of the lens’s elliptical elements.
- Gentle barrel distortion and edge compression at the frame’s outer edges, most visible on wide performance shots.
Each trait does real work. The widescreen ratio gives dancers and bands room to move without cramming the frame. Horizontal flares turn a single practical light into a design element instead of a distraction. Oval bokeh separates a singer from a crowded backdrop without a longer lens. One caveat worth flagging early: if the final deliverable is a square or vertical social cut, that 2.39:1 frame gets cropped hard, so plan the desqueeze and reframe decision before the shoot, not after.
Why choose anamorphic for a music video?
Anamorphic framing changes how you block choreography. The wider aspect ratio rewards horizontal movement, so dancers spreading across a stage or a band lined up for a live-style performance shot read as intentional composition rather than empty negative space. Depth also compresses differently: a singer in the foreground against a blurred, oval-bokeh backdrop of lights or a crowd feels separated from the scene in a way a 50mm spherical lens rarely achieves at the same distance.
Genre matters here. Moody R&B, cinematic pop ballads, and any video built around a single dramatic performance shot benefit most from anamorphic’s flare and compression. High-energy pop or hip-hop cuts with rapid editing can lose some of that benefit since flares and oval bokeh need a beat to register on screen.
Two production notes worth studying: OK Go’s choreography-driven videos succeed because camera movement and dancer blocking are planned together, a discipline that matters even more with anamorphic’s framing quirks. Björk’s “Nerve Bloom,” directed with painterly hand-crafted creatures blended into CGI, shows how practical craft and digital effects can share a frame without either one looking bolted on, a lesson that carries directly into anamorphic VFX integration later in this guide.
Choosing anamorphic glass, adapters, or emulation for your shoot
The gear decision comes down to three tiers, and each one serves a different budget and delivery need.
Vintage anamorphic primes (Lomo, older Panavision glass, Kowa) deliver the most character: heavy flares, pronounced oval bokeh, and imperfect edges that read as filmic rather than digital. They’re also the hardest to focus, the most expensive to rent, and the least forgiving of fast-paced music-video schedules.
Modern anamorphic primes (Atlas, newer Cooke or Vantage lines) give you controlled flares and sharper resolving power, which suits performance-heavy videos where you need consistent focus across quick setups. They cost less to rent than vintage glass and travel better.
Anamorphic adapters mount in front of a spherical lens and squeeze the image optically. They’re the budget entry point into real anamorphic glass, though image quality and flare shape vary widely by adapter, and focus breathing can be a problem on fast cuts.
Vertical anamorphic, or vertiscope, works by rotating the camera body 90 degrees or mounting anamorphic glass vertically, producing a vertical-friendly frame that still carries anamorphic flares and oval bokeh. It’s a legitimate production choice, not a compromise, when the primary deliverable is a vertical platform cut, but it changes your desqueeze workflow and demands rigs built for that orientation. Vertical shooting habits are also reshaping how sets get planned more broadly, something worth reading up on if vertical is becoming a regular deliverable for your slate.
Rental checklist for a one-day anamorphic music-video shoot:
- Primary focal lengths in the 35mm to 75mm range (anamorphic equivalent), covering wide performance and tighter close-ups.
- A fast aperture, T2.8 or faster, to keep oval bokeh pronounced on medium shots.
- A calibrated follow-focus unit, since anamorphic focus throw is longer than spherical.
- Anamorphic-specific lens mounts and support rails; the extra weight up front requires real lens support, not just a standard rod system.
- A vertical rig or rotating plate if any portion of the shoot targets vertiscope delivery.
When none of that is available, plugin emulation is a real option, not a fallback to apologize for. It’s covered in full in the post-production section below.
How do you set up cameras and monitors for an anamorphic shoot?
Getting a clean anamorphic plate on set depends on decisions made before the camera rolls, not fixes applied later.
- Shoot at the highest resolution and least compressed codec your camera and card budget allow. Desqueezing stretches the horizontal axis, and any softness or compression artifact gets stretched right along with it.
- Set your monitor or EVF to a desqueeze overlay matched to your lens’s squeeze factor (commonly 1.3x, 1.5x, or 2x), so the operator is framing what the final desqueezed image will actually look like, not the raw squeezed capture.
- Add 2.39:1 framing guides on top of the desqueeze overlay so performers and dancers stay inside the delivery frame, especially during wide choreography shots.
- Calibrate focus marks for your specific anamorphic lens before the shoot, since anamorphic focus falloff and breathing behave differently from spherical glass, and generic marks from a spherical kit won’t transfer.
- Mark rack-focus points during rehearsal, not takes, because anamorphic’s shallow depth at wide apertures makes missed focus far more visible than it would be on a spherical lens at the same T-stop.
- Favor gimbal or slider movement over handheld for anamorphic shots that carry visible flares, since the extra front weight of anamorphic glass amplifies handheld shake, and flare shape shifts unpredictably with erratic movement.
Desqueeze what you’re monitoring on set for framing purposes, but hold off on the final desqueeze and optical correction until the grade. Doing the real correction in the grading node instead of baking it in early preserves the most latitude for fixing anamorphic-specific edge compression and sharpening later.
Lighting and flares: getting the anamorphic look to actually show up
Flares don’t happen by accident. They happen because a director of photography put a hard light source somewhere the lens could catch it, and positioned it with the specific streak in mind.
Practicals are your best friend here. Bare bulb sources, string lights, and small hard-edged fixtures placed within or just outside the frame catch anamorphic glass and throw the horizontal streak that reads instantly as cinematic. Point sources work better than large soft sources; a softbox rarely produces a clean streak, while a bare tungsten bulb or a small fresnel almost always does.
Control bloom without killing the flare shape by using light diffusion sparingly and flagging aggressively instead. A flag cutting spill off the lens edge keeps the streak crisp rather than letting it wash out the whole frame. Over-diffusing the source rounds off the flare until it looks like a generic light leak instead of an anamorphic signature.
For oval bokeh, aperture and subject-to-background distance do the real work. Shoot wide open, T2.8 or faster, and put meaningful distance between your subject and the background lights or practicals you want rendered as ovals. Too little distance and the bokeh shapes stay small and hard to read on camera; too much distance and they lose definition against the frame.
Desqueeze, grading, and the post pipeline for anamorphic footage
Post-production is where an anamorphic shoot either pays off or falls apart, and the order of operations matters as much as the tools you pick.
In practice, doing that stretch correctly while preserving sharpness and avoiding edge artifacts is where most low-budget anamorphic footage looks amateurish. The fix is to do a rough desqueeze for editorial and client review, then run the final, high-quality desqueeze and optical correction together, once, in the grade.
Expect two recurring optical problems: edge compression, where the outer frame looks visibly squeezed even after desqueeze, and “swimming” or fishbowl distortion during camera movement. Standard spherical lens-correction tools handle neither well, because they’re built for a different kind of distortion. Dedicated anamorphic correction tools address edge compression and swimming directly rather than approximating them with generic warp nodes.
For tools, three categories are worth evaluating:
- Resolve OFX anamorphic utilities, like the plugin suite from AnamorphicTool, which offers dedicated sharpening, edge-compression correction, and alignment tools built specifically around anamorphic optical quirks rather than generic distortion correction.
- After Effects anamorphic templates, such as the free VashiMorphic40 template, which emulates the curvature, vignette, and corner blur of a 40mm Panavision Primo lens using Bezier warp and vignette layers, a genuinely useful route for productions without access to real anamorphic glass.
- Dedicated anamorphic FX packs built for adding or refining flares and bokeh shape after the fact, useful when a shot needs more flare presence than the practical lighting produced on the day.
One point worth being direct about: letterboxing footage with black bars is not anamorphic emulation. Without curvature adjustment, chromatic aberration, and oval bokeh shaping, a letterboxed spherical shot just looks like a spherical shot with the top and bottom cropped off.
Pro Tip: Grade for the flare, not around it. If you crush highlights or over-saturate during color correction without checking how the flare responds, you’ll flatten the exact detail that makes the anamorphic look worth the extra rental cost.
Chromatic aberration around flares and high-contrast edges is expected with anamorphic glass, and mild aberration reads as authentic. Stripping it out entirely during grading often makes footage look suspiciously clean, more like a spherical shot with bars added than genuine anamorphic capture. Deliver your final grade before conforming to platform-specific aspect ratios, since reordering those steps is a common source of soft or misaligned exports.
Bringing VFX and AI into an anamorphic pipeline without breaking the look
Anamorphic’s flares, oval bokeh, and edge geometry are exactly the details that get lost first when AI-generated elements enter a shot carelessly. Protecting them takes a specific order of operations.
Finish traditional VFX compositing and paint, and lock a primary grade, before sending any plate into AI generation. That sequencing, described by director Filmawi and OkayStudio in their work on Kilo Kent’s music video, exists because AI tools preserve cinematography far more reliably when they’re given a finished, graded plate to work from rather than a raw or partially composited one. Skipping that step tends to mean more rework, not less.
Before handing a plate to an AI pass, bake out a neutral graded version that keeps the lens flares intact, retains motion vectors if your pipeline uses them, and includes a clean matte for compositors to work against. That preparation is what lets AI-generated elements sit inside an anamorphic frame without erasing the horizontal streak or flattening the oval bokeh that made the shot worth lighting carefully in the first place.
Work shot by shot rather than in a batch. Precise, shot-level prompts that reference the specific lens characteristics in frame, not generic scene descriptions, keep continuity intact across a video’s runtime. For readers building out compositing skills alongside this pipeline, a deeper look at realistic visual effects workflows for filmmakers is a useful companion resource. Reconcile any AI-generated pass against your original graded plate before finishing, so drift in color or geometry gets caught before final delivery rather than after.
A practical checklist and sample shot list for your shoot day
A little discipline before call time saves an entire day of reshoots later.
Pre-shoot:
- Run a lens test on your actual anamorphic glass (or adapter) to confirm flare behavior and focus throw before the shoot day.
- Load desqueeze overlays onto every monitor and EVF that will be used for framing.
- Pull one graded reference frame from your lens test so the whole crew is matching the same target look on set.
- Write VFX plate notes for any shot that will carry compositing or AI work, specifying what needs to be preserved (flare position, motion, depth cues).
Day-of:
- Run flare tests with your actual practicals in their planned positions before the first take, not during it.
- Confirm focus marks against your lens test data, not generic spherical marks.
- Shoot safety frames slightly wider than your final crop to protect against desqueeze edge loss.
Sample shot list for a song of moderate length:
An establishing wide at :00 to :15 sets the widescreen stage and introduces flares from background practicals. Performance mediums from the first verse through the pre-chorus rely on oval bokeh to separate the vocalist from the set. The chorus calls for tighter close-ups where flare intensity peaks, timed to the song’s biggest musical moment, and a final wide return in the last chorus mirrors the opening shot to bookend the anamorphic frame. For teams still finalizing how shots map to song structure, directing a music video from concept to release covers that planning process in more depth.
Applying anamorphic technique on a professional set
We’ve shot enough music videos to know that anamorphic only pays off when the whole crew commits to it before the shoot, not partway through. Imagestudio has produced more than 250 projects generating over 150 million views across commercial, wedding, and music-video work, and the anamorphic decisions covered in this guide, lens choice, flare placement, desqueeze timing, come directly from that body of work rather than from theory.
On a recent music-video production, the choice to shoot vertiscope for a vertical-first release meant rebuilding the lighting plan around a rotated frame two weeks before the shoot, not adjusting it after dailies came back soft. That kind of decision only works when gear, lighting, and post are planned together from the start, which is the same discipline this guide has walked through section by section.
— Image Studio
Bring your anamorphic vision to Imagestudio
Renting the right glass and running a clean desqueeze workflow gets you most of the way there, but the difference between a competent anamorphic video and a genuinely cinematic one usually comes down to a crew that has lit hundreds of flares and graded hundreds of oval-bokeh shots before yours. Imagestudio’s music-video production service handles that entire pipeline: lens selection, on-set lighting for flares, and a post workflow built around preserving anamorphic character through grading and any VFX or AI integration your concept calls for. Packages are built around your creative brief rather than a fixed template, and every project starts with a conversation about the look you’re chasing, not a price list. If you’re ready to move from planning to production, reach out through the music-video page to start a creative brief and get a bespoke package built around your song, your timeline, and your delivery formats.
