How to Sync Audio to Music Video Footage Perfectly
July 16, 2026
Learn what music video production costs really include, from pre-production and filming to post-production, budget tiers, and cost-saving strategies that help artists create cinematic music videos without compromising quality.
Syncing audio to music video footage is the process of aligning your music track precisely with your video clips to produce professional, rhythmic visuals. When the sync is off by even a few frames, audiences notice immediately. The fix lives in two places: your technical setup before you hit record, and your alignment workflow in post. AI-assisted tools like MadSync can now handle up to 80% of beat detection automatically, which means the real skill is knowing when to trust automation and when to go manual. This guide covers both, so you walk away with a reliable system for every project.
How to sync audio to music video footage: prerequisites and tools
Getting your technical settings right before you record saves hours in post. The most common cause of sync drift is not user error. Mismatched frame rates or sample rates between your camera and audio recorder create a progressive offset that compounds over the length of a clip.
Hardware you need on set
Video camera capable of recording at a consistent frame rate (24, 30, or 60 fps)
External audio recorder such as a Zoom H6 or Tascam DR-40X for high-quality sound capture
Slate or clapper board to create a sharp sync cue at the start of each take
Capture device or audio interface if routing live instruments or a playback track on set
Every device in your chain must share the same frame rate. Mixing 24 fps camera footage with 30 fps reference clips creates a mismatch that no software can fully correct after the fact.
Software tools for music video audio alignment
Tool category
Example
Best for
Non-linear editor (NLE)
Adobe Premiere Pro, DaVinci Resolve
Full timeline editing and waveform sync
AI beat detection
MadSync
Automated marker generation to music beats
Drift correction
FFmpeg
Command-line timestamp and offset fixes
Format conversion
HandBrake
Converting VFR footage to CFR before editing
The 48kHz audio sample rate is the industry standard for video production. Recording at any other rate forces your NLE to resample, which introduces subtle timing errors that grow into noticeable drift on longer clips.
Pro Tip:Record a clean “scratch” audio track on your camera even when using an external recorder. NLE auto-sync features use that on-camera audio as a reference to match your external sound automatically.
How do AI and automated tools speed up music video audio alignment?
AI beat detection works by analyzing the frequency and amplitude peaks in a music track and generating timeline markers at each beat. You then assign video clips to those markers. A 3-minute song at 120 BPM contains approximately 360 beats for AI to map, which would take a human editor 30 or more minutes to mark manually.
Step-by-step: using AI-assisted sync
Import your music track and all video clips into your NLE project.
Set your project frame rate to match your camera footage (24, 30, or 60 fps).
Run your music track through an AI beat detection tool like MadSync to generate beat markers.
Export the marker list and import it into your NLE timeline.
Drag video clips to align with the beat markers, using the AI suggestions as anchor points.
Play back the sequence and manually adjust any clips that feel off by a frame or two.
The scratch audio on your camera gives NLE auto-sync features the reference they need to match your external audio track. Without it, the software has no anchor and alignment becomes fully manual. This is why capturing scratch audio on set is non-negotiable, even on a minimal crew.
Automated sync tools work best when you give them a clear spike to lock onto. A sharp clap or slate snap creates a distinct transient that both AI tools and NLE waveform analyzers can identify instantly. Ambiguous audio, like a soft fade-in or background noise, forces the algorithm to guess, and it often guesses wrong.
Pro Tip:Before running any auto-sync, normalize your audio tracks to a consistent level. AI beat detection performs better on clean, balanced waveforms than on tracks with wild volume swings.
For editors looking at how AI-assisted production workflows are reshaping the music video space, the shift toward hybrid automation is already well underway.
When and how to perform manual waveform alignment
Manual waveform alignment is the process of visually matching audio transients across two tracks at the frame level inside your NLE. You use it when automated tools fail, when you have no scratch audio, or when a clip needs sub-frame precision that no algorithm provides.
Step-by-step: manual sync alignment
Place your camera audio and external audio on separate tracks in the timeline.
Zoom into the waveform view until individual frames are visible (use the plus key in most NLEs).
Find the sharpest transient in both tracks. A hand clap, a drum hit, or a plosive consonant all work well.
Align the peak of the transient in the external audio track directly under the matching peak in the camera audio.
Mute the camera audio track and play back to confirm the external audio sounds natural and in sync with the visuals.
Lock the external audio track and delete or disable the scratch audio.
Multi-camera shoots require one additional step: choose a single reference audio source as your master track, then sync every other camera angle to that master. Trying to sync cameras to each other without a common reference creates compounding errors.
The most common mistake editors make during manual sync is zooming out too far. At a standard timeline view, a two-frame offset looks invisible. Zoom in until you can see individual sample waveforms, and the error becomes obvious. A two-frame offset at 24 fps equals roughly 83 milliseconds, which is enough for a viewer to feel that something is “off” without knowing why.
Pro Tip:Use a high-contrast waveform display setting in your NLE. DaVinci Resolve’s “rectified” waveform view and Premiere Pro’s “large” waveform display both make transient peaks far easier to align than the default settings.
For a deeper look at how precise audio alignment applies beyond music videos, the techniques used in wedding cinematography audio translate directly to any multi-track sync challenge.
How do you identify and fix audio drift in music video projects?
Audio-video sync drift is a progressive offset where audio and video start in sync but gradually fall out of alignment over the length of a clip. The cause is almost always a frame rate or sample rate mismatch between recording devices. It is not a software bug and it is not random.
Common causes and fixes
Variable frame rate (VFR) footage: Smartphones and some mirrorless cameras record VFR by default. Convert all footage to constant frame rate (CFR) using HandBrake or Adobe Media Encoder before editing. Converting VFR to CFR eliminates the most common source of drift before it starts.
Sample rate mismatch: If your audio recorder captures at 44.1kHz and your NLE project is set to 48kHz, the audio plays back slightly slower. Always record at 48kHz and match your project settings.
Long-form drift correction: FFmpeg’s ‘-async 1’ and ‘-itsoffset’ commands correct timestamp-level drift without re-encoding your video. These are the fastest fix for clips where drift has already occurred.
Drift cause
Prevention
Fix after the fact
VFR footage
Record in CFR mode
Convert with HandBrake before editing
Sample rate mismatch
Set all devices to 48kHz
Resample audio in your NLE
Frame rate mismatch
Match all cameras to one fps
Use FFmpeg offset commands
Long clip drift
Standardize settings on set
Time-stretch audio in small increments
Time-stretching audio to correct drift works for small offsets, typically under 5% of the clip length. Larger stretches introduce audible pitch artifacts, especially on music tracks. For significant drift, the better fix is to re-record or re-export the source files with corrected settings.
Pro Tip:After any sync correction, play back the corrected clip at three points: the very start, the midpoint, and the final 10 seconds. Drift that was fixed at the head of a clip sometimes reappears at the tail if the correction was not applied uniformly.
Editors who want a broader view of how post-production decisions affect the final product can find useful context in this guide to post-production in video. The principles of quality control apply across every genre.
For editors who want to stay current on how producer workflow automation is changing the sync process, the shift toward AI-first pipelines is worth understanding before your next project.
Key Takeaways
Flawless music video audio alignment requires standardized technical settings on set, a clear sync cue at every take, and a hybrid workflow that combines AI beat detection with frame-level manual correction.
Point
Details
Standardize before recording
Set all cameras and recorders to matching frame rates and 48kHz sample rate to prevent drift.
Always capture scratch audio
On-camera scratch audio gives NLE auto-sync tools the reference they need to match external sound.
Use AI for beat mapping
Tools like MadSync detect beats automatically, cutting manual marker work by the majority of the effort.
Zoom in for manual alignment
Frame-level waveform views reveal offsets invisible at standard zoom, especially for transient matching.
Convert VFR to CFR first
Run all smartphone or mirrorless footage through HandBrake before editing to eliminate the most common drift source.
Why I always start with the sync cue, not the software
After years of working on music video post-production, the single biggest lesson I have learned is this: no software fixes a bad recording setup. Editors often reach for AI tools or FFmpeg commands as a first response to sync problems, but those tools are corrections, not solutions. The real solution happens on set, before the camera rolls.
The clapper board exists for a reason. A sharp slate snap creates a transient so distinct that every tool, from a basic NLE to the most advanced AI detector, locks onto it instantly. When I skip the slate and rely on a soft audio cue or a visual reference alone, I spend three times as long in post fixing what a two-second clap would have prevented.
AI beat detection genuinely changed how fast I can cut to music. What used to take an afternoon of manual marker work now takes minutes. But I have also learned where AI stumbles: complex polyrhythms, tempo-variable tracks, and recordings with heavy reverb all confuse beat detectors. Those are the moments when manual waveform alignment earns its place in the workflow.
My honest recommendation is to treat AI sync as your first pass and manual alignment as your quality check. Run the automation, then zoom into five or six key moments in the timeline and verify the alignment by eye. That hybrid approach catches the errors that automated tools miss and keeps your total editing time well below what a fully manual workflow would require.
— Image Studio
Imagestudio’s approach to music video post-production
Imagestudio has spent over 14 years producing music videos that have collectively earned more than 150 million views, and audio-video sync sits at the center of every project. The studio’s post-production team uses industry-standard NLEs alongside AI-assisted workflows to deliver the kind of frame-accurate alignment that separates a professional release from an amateur upload.
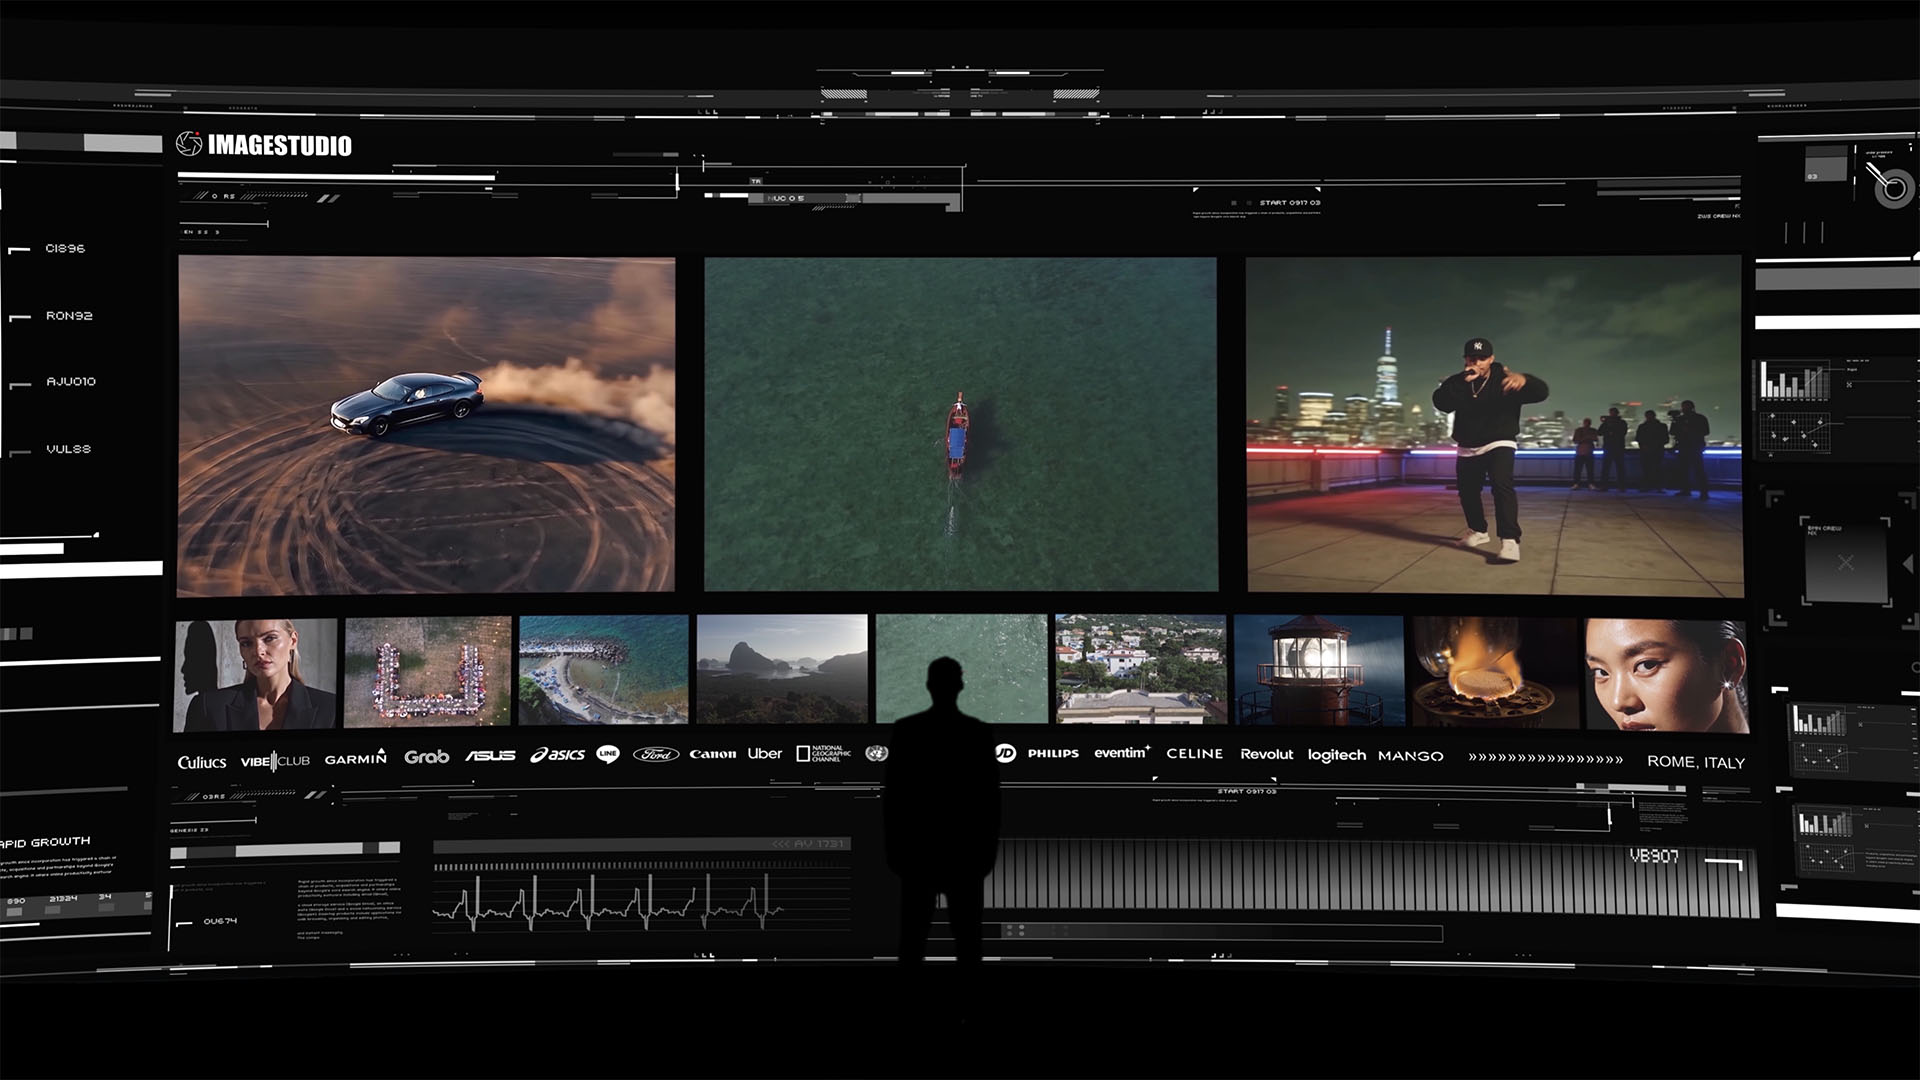
A high-end cinematic portfolio experience by Image Studio featuring automotive visuals, aerial cinematography, urban storytelling, and premium brand collaborations.
Whether you are a solo creator or a label looking for a full production partner, Imagestudio’s music video production services cover everything from on-set sync setup to final color and audio mastering. The team handles the technical complexity so you can focus on the creative vision. Reach out to learn how Imagestudio can bring that same precision to your next project.
FAQ
What is the best sample rate for syncing audio to video?
The industry standard is 48kHz. Recording at 48kHz across all devices prevents resampling errors that cause progressive sync drift over long clips.
How does AI beat detection work for music videos?
AI tools analyze amplitude peaks in a music track and generate timeline markers at each beat. A tool like MadSync can map the majority of beats in a 3-minute song in seconds, replacing manual marker work.
What causes audio drift in music video editing?
Drift results from mismatched frame rates or sample rates between your camera and audio recorder. Converting variable frame rate footage to constant frame rate before editing eliminates the most common cause.
Do I need a clapper board for automated sync to work?
A clear sync cue, such as a clap or slate snap, is required for automated tools to perform accurate alignment. Without a sharp transient, AI and NLE auto-sync features lose their anchor point and manual adjustment becomes necessary.
Can FFmpeg fix audio sync problems without re-encoding video?
Yes. FFmpeg’s ‘-async 1’ and ‘-itsoffset’ commands correct timestamp-level drift and apply offset adjustments without degrading video quality through re-encoding.